What are 3D printing modifiers and how to use them in REALvision Pro
The Intermediate series is made for those who already have solid experience with 3D printing but still want to learn and improve and are also new to REALvision Pro 3D printing slicing software.
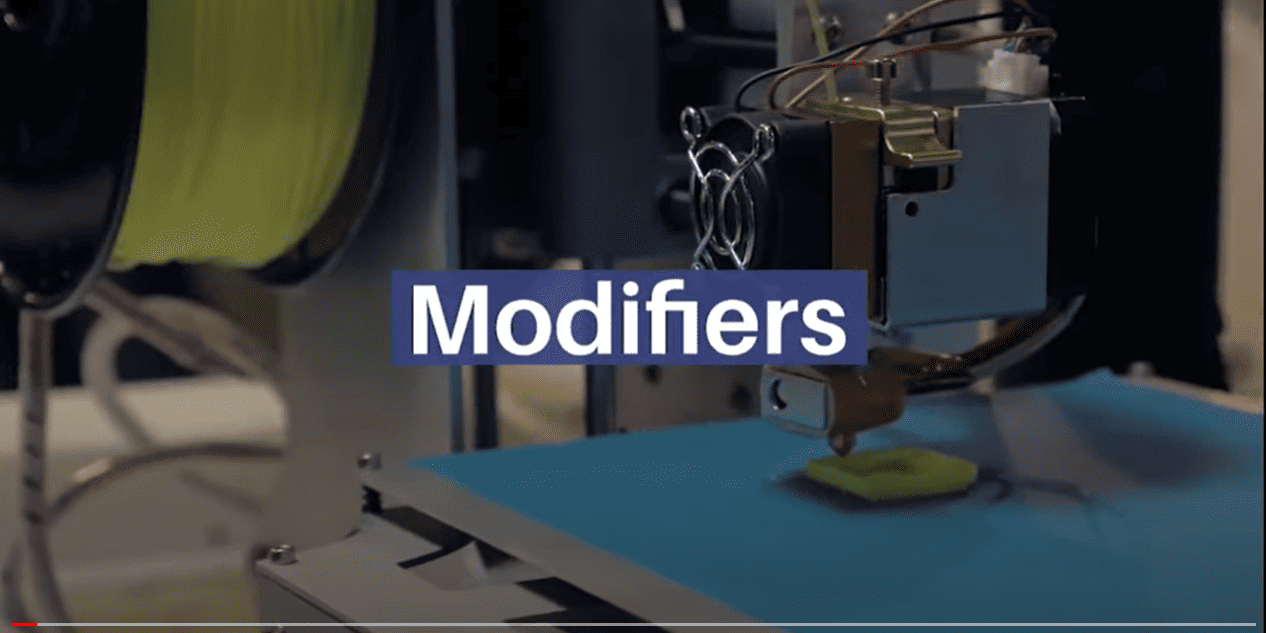
This video explains what modifiers are and the step by step guide of how to use them in REALvision Pro.
Video content
What are modifiers?
Modifiers allow you to use the geometry of one object to define an area in 3D space that will use different settings for printing compared to the rest.
How to use them?
1. Import two or more STL’s
2. In the left side menu, scroll to the bottom and drag n’ drop the file from ‘Objects’ to ‘Modifiers’
3. Click on the settings icon next to the name of the file to adjust the infill density
4. Choose the infill density – higher infill will result in a stronger object at the cost of material usage and print time
5. Choose from the 13 infill types available and the infill line width
6. Place the models in the print bed in a way that they intersect each other
7. Click on Prepare and use the layer view to check if the infill is correct
8. Click the Export button and you are good to go!
Reliable software supported by real 3D printing experience
Experience behind the trusty toolbox is the key to success. The software is based on the REALvision core, which is the backbone of the slicing software for a decade serving printer manufacturers as a white-label software. There is a team of experts who knows 3D printing from the inside out, continuously working on updates and new features. They are not only writing codes but constantly testing material, print settings, and experimenting. This is the expertise that REALvision Pro customers can access without risking their problems being posted in an online forum.
