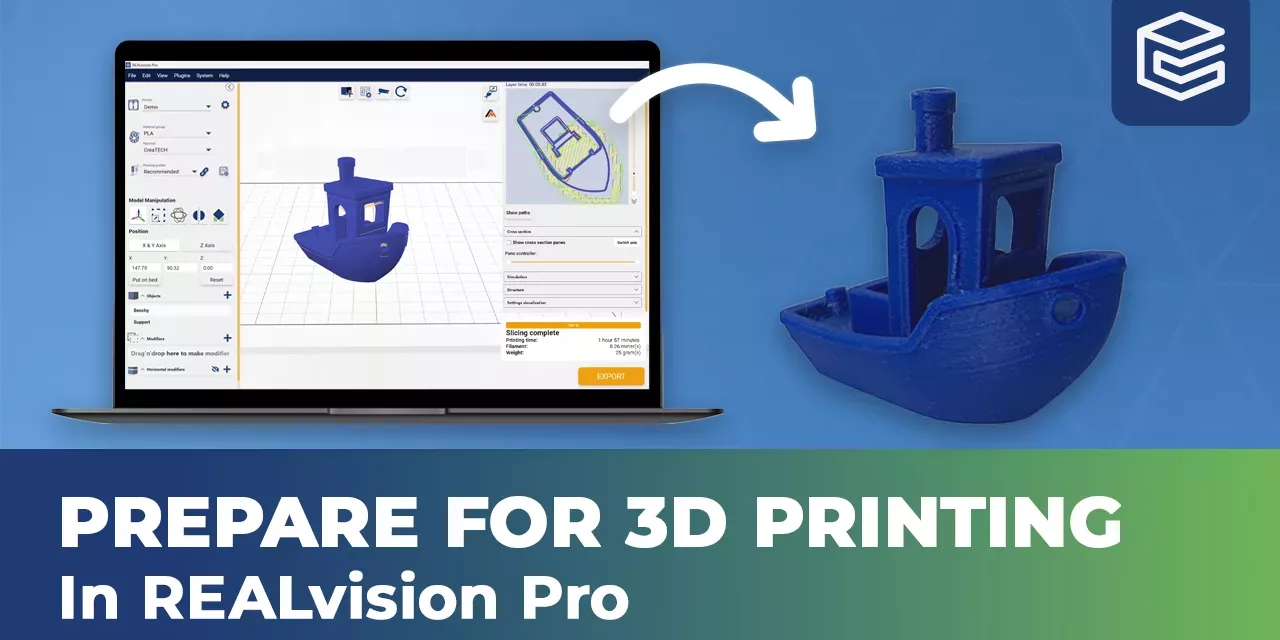
Preparing your model for 3D printing in REALvision Pro
The Beginner series is made for those who want to learn the basic workflow of how to get started with REALvision Pro 3D printing slicing software.
This video will show you how to prepare the object for 3D printing in REALvision Pro.
Video content
Preparing your model for 3D printing
1. Click the PREPARE button to prepare the file for slicing
2. Toggle between the 3D view of the layers and the default 3D view.
3. Add a planned pause to the G-Code if desired and choose what movements you want to see visualized
4. See information on printing time, and filament consumption
5. When ready, press EXPORT to save the G-Code
Reliable software supported by real 3D printing experience
Experience behind the trusty toolbox is the key to success. The software is based on the REALvision core, which is the backbone of the slicing software for a decade serving printer manufacturers as a white-label software. There is a team of experts who knows 3D printing from the inside out, continuously working on updates and new features. They are not only writing codes but constantly testing material, print settings, and experimenting. This is the expertise that REALvision Pro customers can access without risking their problems being posted in an online forum.
