3D model manipulation in REALvision Pro
The Beginner series is made for those who want to learn the basic workflow of how to get started with REALvision Pro 3D printing slicing software.
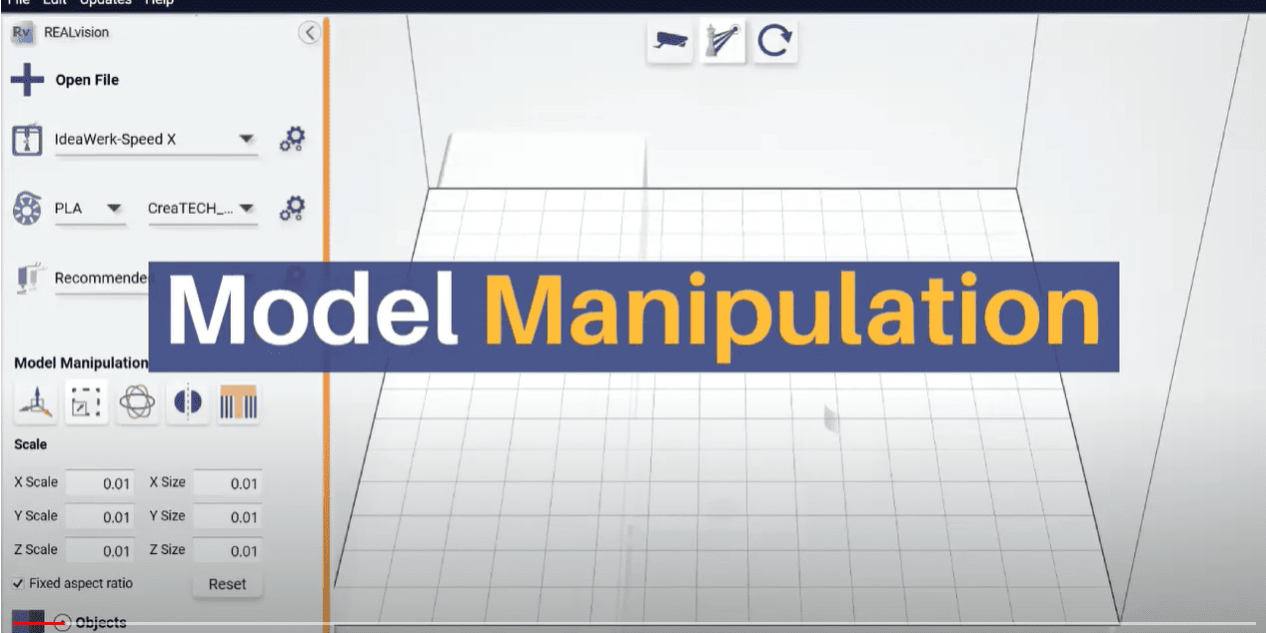
This video is about moving, scaling, rotating, flipping, mirroring the object, adding support to the object in REALvision Pro.
Video content
Model / object manipulation
1. Move around objects in the work space in the XY plane, by left clicking and dragging
2. Pressing ”Reset” will put all objects back in their default position
3. Scale your model up to become larger, or down to become smaller
4. While the box “Fixed aspect ratio” is checked, scaling will happen uniformly on all axes – unchecking it will allow scaling an object on only one axis
5. Rotate the model around the X, Y, or Z Axis
6. You can also choose a different number of degrees to rotate your model
7. Flip or mirror your object along an axis
8. Select one of the possibilities for adding support if needed:
– None: Default option, no support is added.
– Buildplate only: Support will only be added to overhangs that can be connected directly to the buildplate.
– Support everywhere: Support will be added everywhere on the model, including places where the support will be placed on the model itself
Reliable software supported by real 3D printing experience
Experience behind the trusty toolbox is the key to success. The software is based on the REALvision core, which is the backbone of the slicing software for a decade serving printer manufacturers as a white-label software. There is a team of experts who knows 3D printing from the inside out, continuously working on updates and new features. They are not only writing codes but constantly testing material, print settings, and experimenting. This is the expertise that REALvision Pro customers can access without risking their problems being posted in an online forum.
